


Product demonstration videos have become an extremely popular marketing tool for businesses looking to showcase their products and explain their features and benefits. A well-executed demo video can greatly boost product interest and sales. This comprehensive guide will walk through the entire process of creating an effective product demo video, from initial planning to final publishing. It covers video styles, scripts, tools, and distribution methods. Follow these steps to develop memorable product videos that engage audiences.
Define the Video Purpose and Audience
Set Goals
The first step is to decide the purpose and goals for your demonstration video. Common goals include:
- Generate product interest
- Explain features/capabilities
- Show product value
- Increase conversions/sales
- Onboard new users
- Educate customers
- Promote launches and updates
With clear goals outlined, it becomes easier to shape an effective video tailored for your business needs.
Identify the Target Audience
You also need to determine the target viewer for your video. Analyze your customer demographics and buyer personas to identify their key characteristics, interests, motivations, and concerns.
Tailor your video's style, messaging, tone, length, and visuals to resonate with your ideal audience. Are viewers early in their buyer's journey looking for an overview? Or existing customers seeking tips and training? Defining the target viewer provides focus.
Choose a Video Style and Structure
Select a Video Style
Next, decide which demonstration video style matches your goals and audience:
Talking Head
This video features an on-camera host describing the product. It builds a human connection but requires strong presentation skills.
Screencast
Records your computer screen to showcase software and websites. No host is required so it focuses fully on the product demonstration.
Live Action
Films scenes with real people using your product. It tells a visual story but requires extensive production effort.
Animation

Uses illustrations and motion graphics to explain your product. This can simplify complex ideas.
Interactive
Allows viewers to click and navigate a demo right on your website for hands-on exploration.
Pick the style that best showcases your product and suits your budget and resources.
Develop the Video Structure
Structure your demonstration video with a beginning, middle, and end:
- Introduction - Briefly introduce your product and its purpose. Setup the video context.
- Body - Demonstrate the product, highlight key features, and explain the value it provides. Show it solving user problems.
- Conclusion - Recap the main benefits. End with a clear call-to-action.
This simple framework helps logically build out your video content.
Write a Product Demo Script
Before recording, you need a script to outline exactly what to demonstrate and say. Follow these tips when writing your demo script:
- Keep it concise - aim for no more than 150 words per minute of video time. Avoid long complex sentences.
- Focus on benefits - emphasize how your product helps customers, not just features.
- Use conversational language - write in a natural, friendly style that engages viewers.
- Show enthusiasm - convey excitement and confidence about your product.
- Balance showing and telling - describe what is on screen but also explain the why behind it.
- End with a CTA - close by motivating viewers to take action.
Scripting ensures your video hits key points to educate and persuade audiences. Polish the script through multiple drafts before recording.
Record Product Demonstration Footage
Prepare Recording Equipment
Select recording equipment suited for your video style:
- Camera - required for talking head, live action, and animation videos. Choose HD resolution.

- Microphone - essential for high-quality audio. Lavalier mics provide crisp sound.
- Screen recording software - needed to capture software demos and screencasts.
- Interactive demo software - for embedded interactive demos on your site. Offers clickable product tours.
Set up equipment in a quiet space with ample lighting. Adjust camera/mic positioning for best results.
Capture Demo Footage
Next, record footage showing how your product works. Use your script as an outline.
- Record short clips demonstrating key features. Get various angles/usage scenarios.
- Capture B-roll of supplementary screenshots and material.
- For software, use screen recording to highlight interface and workflows.
- Keep takes short to allow flexibility in editing. Record multiple versions of each section.
Work through your script to compile all required video content during the recording session.
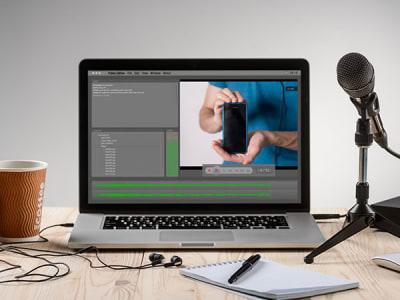
Enhance and Edit Footage
Refine and Organize Footage
Review and assemble your best recorded demo sections:
- Cut extraneous material and mistakes to simplify editing.
- Organize clips into beginning, middle, and final parts per your outline.
- Ensure you have B-roll to supplement the main narrative.
- For software, capture explanatory screenshots and screen recordings.
Effective editing starts with quality refined raw footage. Only include your best material.
Add Visual Design Elements
Enhance your demonstration footage using visuals like:
- Titles and lower-thirds - convey topic changes and information.
- Text overlays - highlight key features/details.
- On-screen graphics - icons, charts, etc. to illustrate concepts.
- Animated elements - simple motion graphics to spice up scenes.
- Stock media - relevant photos/videos to support the script.
- Branding - logos, colors, etc. for consistency.
Visuals make product videos more dynamic, memorable, and professional. But use them sparingly to avoid distracting from the main demo.
Assemble Scenes
Using video editing software, assemble your footage and visuals into a cohesive video based on your script outline.
- Arrange clips sequentially to build the narrative.
- Ensure smooth transitions between scenes.
- Adjust timing by trimming clips so the pace feels natural.
- Add background music for tone/continuity.
Fluidly editing together your compiled assets results in a polished product demo video.
Record and Add Narration
Script Narration
Write out the full narration script, adding details to expand on your original outline. Time the script to match your edited video length.
- Describe what is being shown on screen.
- Explain key features and user benefits.
- Use concise, conversational language suited to the video style.
- Convey enthusiasm and avoid a monotonous tone.
The final narration brings all the visual content together into a cohesive storyline.
Record Voiceover
Using a microphone in a quiet environment, record the narration while watching the edited video footage.
- Speak slowly and clearly. Leave pauses between sections.
- Record multiple takes to capture the best read of the script.
- Ensure consistent audio levels without peaking.
High-quality voiceover greatly enhances the video viewing experience.
Add Narration to Video
Import the voiceover audio into your editing software and align it with the video timeline.
- Ensure narration audio matches each scene.
- Adjust levels so voiceover is clear over background music/sounds.
- Add small crossfades between narration sections to smooth transitions.
Properly mixed and synced narration ties the entire video narrative flow together.
Finalize the Completed Video
Adjust Pacing and Flow
With narration added, watch through your video and fine-tune the editing:
- Check that scenes logically build off each other.
- Trim content if sections feel too long or rushed.
- Add segue B-roll to transition between significant scenes.
- Adjust timings or add motion graphics to improve engagement.
Polishing the demo video pacing and continuity creates a professional experience for viewers.
Export and Compress for Distribution
Finally, export a master file from your editing software for uploading:
- Select a high-resolution export setting (1080p or 4K).
- Choose a compressed format like MP4 or MOV for online sharing.
- Optimize file size by adjusting export codecs and compression.
Properly compressed, high-quality video files will showcase your product and not lose fidelity.
Publish and Promote Your Video
Upload to Key Platforms
Publish your completed product demo video in locations your audience will view:
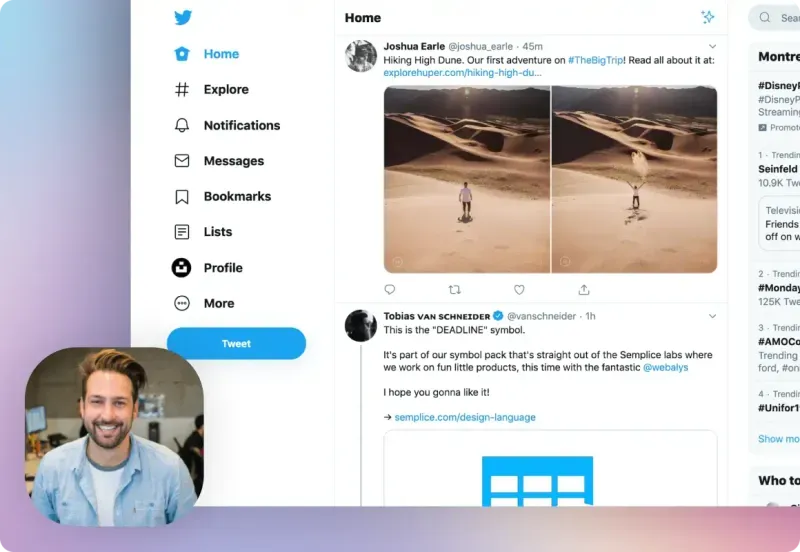
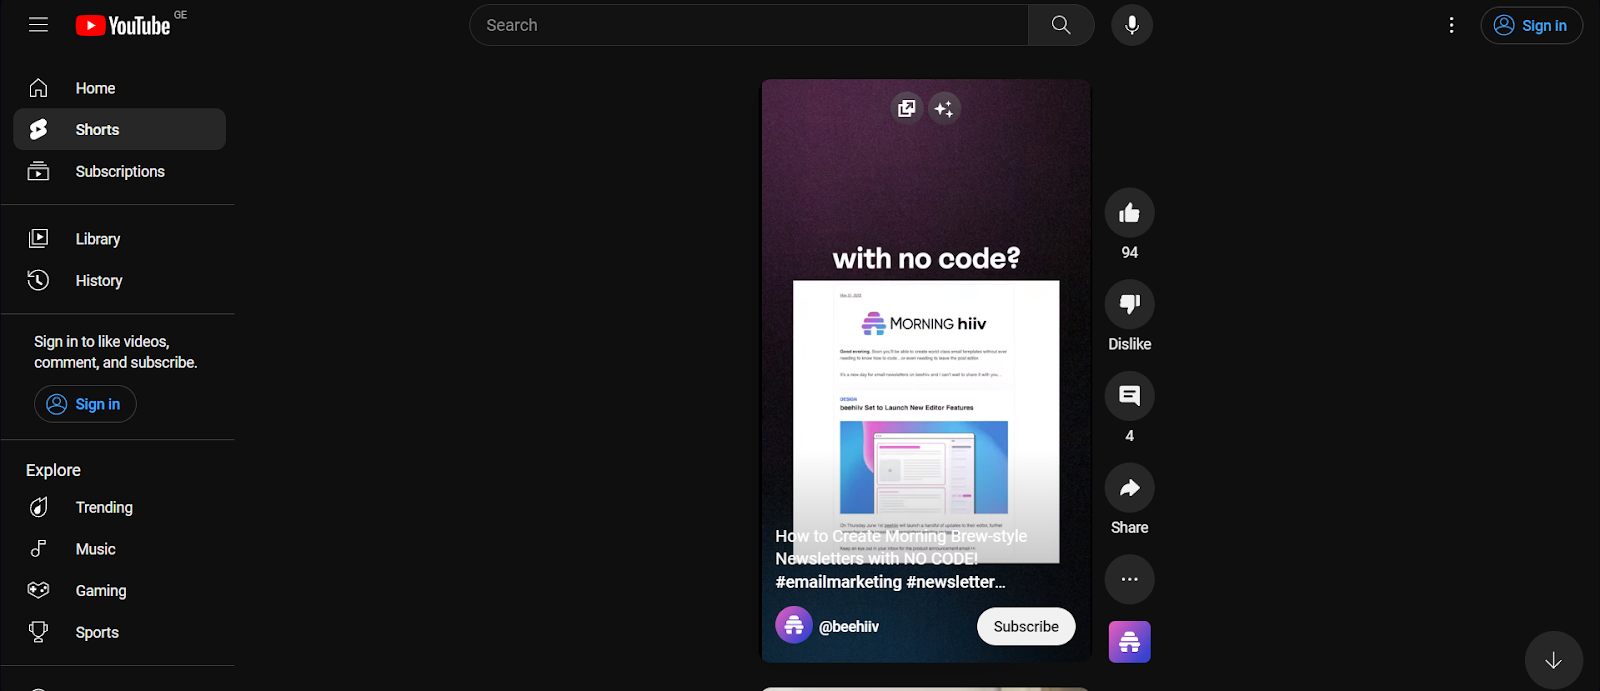
- YouTube - for maximum visibility and organic discovery.
- Social media - share natively or link to YouTube videos.
- Website and blogs - embed videos on relevant pages like product descriptions.
- Email marketing - send demos to subscriber lists segmented by interest.
- Paid ads - run video ads on platforms like Facebook linking to your content.
- Live events - screen demos at conferences, webinars, and trade shows.
Distribute videos across both free and paid channels tailored to your industry.
Generate Interest and Traffic
Promote videos through:
- Social posts and ads spotlighting the video.
- SEO optimization (title, description, tags) to rank in Google search.
- Calls-to-action on site/emails to direct people to the video.
- Outreach to media outlets, influencers, and bloggers to request coverage.
Strategic promotion expands your product video reach and drives targeted traffic.
Track Performance
Use platform analytics to monitor:
- Video views and completion rates
- Traffic driven to site
- Conversions from viewers
- Audience retention on site after viewing
Key metrics reveal how well your video engages audiences and achieves marketing goals. Refine based on results.
Screen Story for Mac Demo Videos
Screen Story is a useful tool for easily recording and producing product demo videos. Key features include:
- Quick screen and webcam capture
- Automated cursor and zoom animations
- Motion graphics backgrounds and effects
- Multiple export formats including MP4, GIF, and animated PNG
The software simplifies the creation of polished marketing and training videos. It adds professional animations with minimal effort required. Screen Story helps craft compelling product demonstrations and tutorials in minutes.
The automated features produce high-quality demo videos that highlight products in an engaging fashion. While Screen Story is currently Mac-only, it provides a streamlined demo production solution for Apple users.
{{blog-ad}}
Conclusion
Well-executed product demonstration videos can increase product interest, improve conversion rates, and complement marketing campaigns. By following the steps in this guide, you can develop memorable, shareable videos tailored specifically for your business needs and audiences. Keep demos concise, convey benefits clearly, and publish across multiple platforms. Product videos provide an impactful way to showcase your offering. Careful planning, production, and promotion will lead to compelling content that educates customers and drives conversions.
Create stunning videos with Screen Story
Record your screen with audio and create stunning videos without editing skills. Screen Story applies the best design patterns to the video automatically.
.webp)

.webp)
