


Screen recordings are an essential tool for tutorials, how-tos, product demos, and more. But raw recordings rarely come out perfect on the first try. Learning how to properly edit screen recordings takes them to the next level by removing mistakes, improving pacing, adding graphics, and customizing your video.
This guide will teach you how to edit screen recordings in 2024 with tips for trimming, cropping, adding annotations, inserting other media, applying filters, and more. Follow along to transform your raw recordings into professional, polished videos.
Prepare Your Recording
Before diving into editing, some preparation will make the process smoother. Here are a few quick tips:
- Use a high quality screen recorder that outputs the resolution, frame rate, and video format you need. This gives you more to work with.
- Record your screen and webcam video on separate tracks if supported. This allows isolating and editing them independently.
- Reduce unwanted background noise when recording audio. This prevents distracting hissing or humming.
- Give yourself ample padding at the start and end. Having excess footage makes trimming easier.
Editing Software
You'll need video editing software to customize your screen recordings beyond simple trimming. Here are some top options:
iMovie
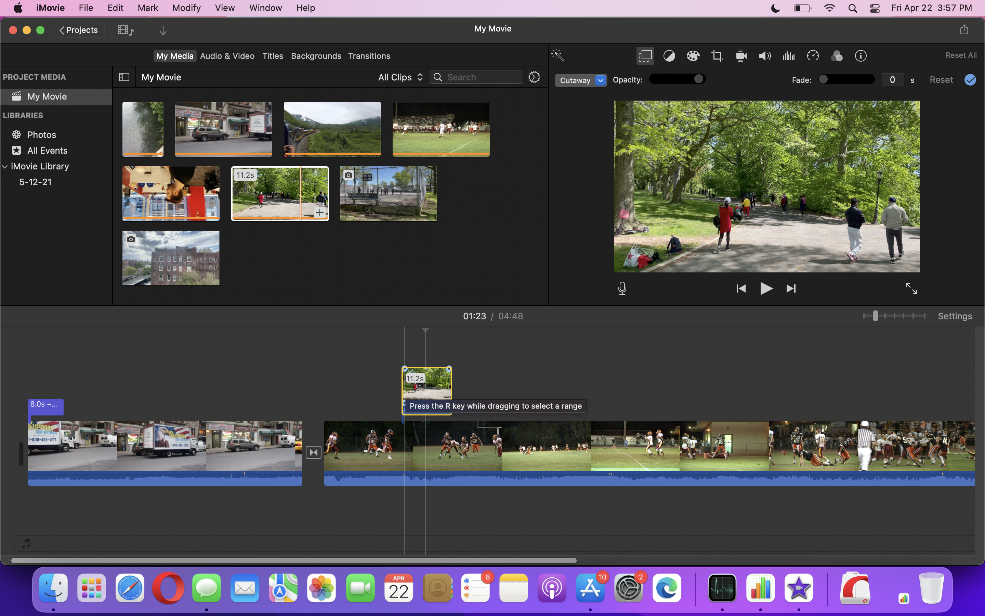
Apple's free iMovie app provides basic editing tools for Mac and iOS users. You can trim clips, rearrange scenes, add titles/music/sound effects, and export in various formats. It's easy to learn and great for simple edits.
Adobe Premiere Rush

Premiere Rush is Adobe's streamlined video editor tailored for social media creators. It's also easy to pick up for beginners but offers more advanced options like color correction and audio ducking. There's a free starter plan or paid monthly subscriptions.
Filmora
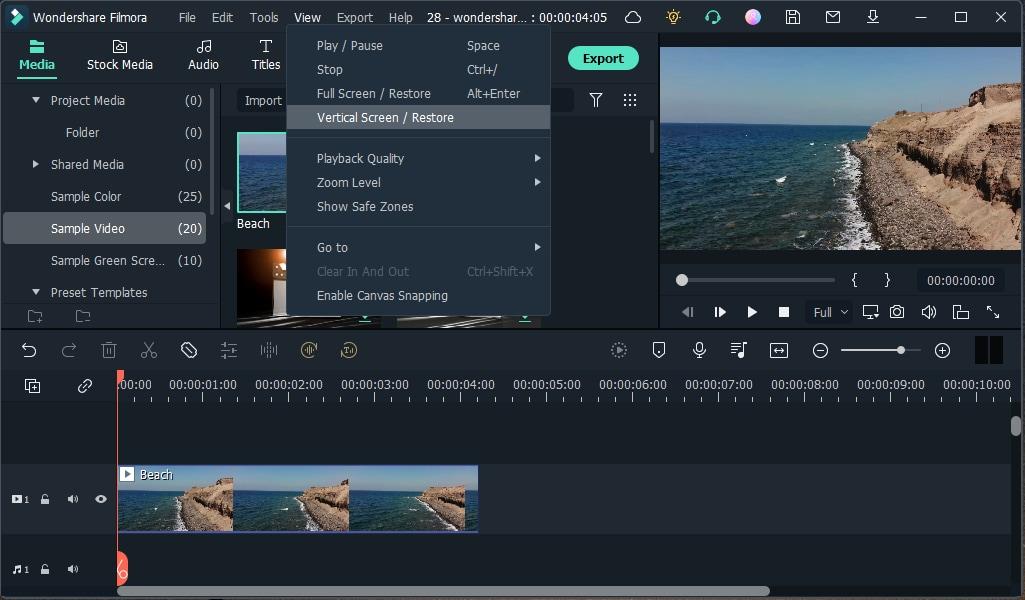
Filmora from Wondershare is popular Windows/Mac editing software with extensive features yet still accessible for new video editors. Filmora enables sophisticated edits like green screen effects, split screens, speed ramping, and more. Paid plans start at $49/year.
Enhance Editing Screen Recordings with Screen Story
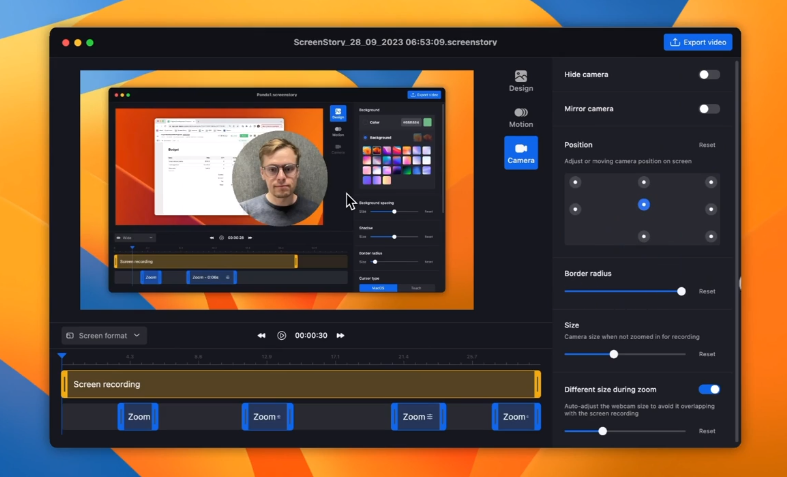
Screen Story automates enhancements like cursor animations, AutoZooming, and motion blur to instantly make your screen recordings more engaging. Additional tools integrated directly into Screen Story's recorder simplify editing so you can rapidly edit and export polished, professional videos.
{{blog-ad}}
Once you have your screen recording, follow these key steps to edit it:
Import and Organize Footage
Import all of your separate video, audio, image, and other media into your editor's media library. Organize related clips into folders or keyword tag them to stay organized when editing.
Review and Trim Recordings
Scrub through your raw footage to identify sections to cut or trim to keep only the most relevant pieces. Cut out mistakes, dead space, filler words, and other unwanted segments.
Crop and Scale
Use the crop effect to remove distracting browser elements and zoom in on the most important area of your screen. Scale your layered clips to appropriate sizes as needed.
Insert B-Roll and Graphics
Cut up your long screen recordings by inserting relevant b-roll footage and graphics. This adds visual interest and breaks up potential monotony. Access stock libraries or create your own custom branded elements.
Apply Filters and Color Correction
Subtly enhance the look of your video by applying filters like sharpening or saturation boosts. Use color correction tools to fix inconsistent exposure or coloring across different clips.
Add Audio and Sound Effects
Insert background music, boost quiet audio, or dub new voice narration to provide necessary context. Punch up transitions with sound effects. Carefully adjust volume levels across all audio tracks.
Export and Share
When editing is complete, export your video into a shareable format like MP4 or MOV. Then upload to video platforms or your website to publish for your audience.
Tips for Better Edits
Keep these additional tips in mind when editing screen recordings:
- Rearrange clips to present information in the most logical flow
- Use cuts and transitions between sections to maintain energy and interest
- Add customizable text overlays, captions, intros, and outros
- Review the final video and trim any additional excess material
- Export using codec and resolution optimized for your delivery medium
The ability to professionally edit screen recordings sets great content apart from mediocre, amateur results. Dedicate time to learn editing fundamentals, optimize your workflow, and practice the techniques outlined above. Pair your skills with a Screen Story designed to accelerate video production. Use Screen Story to create and edit professional social media videos, tutorials, product demos, and more with minimal effort (the free version includes 3 watermarked video renders). Finessed, edited screen recordings will become indispensable for your tutorials, explainers, and other videos.
Create stunning videos with Screen Story
Record your screen with audio and create stunning videos without editing skills. Screen Story applies the best design patterns to the video automatically.
.webp)

.webp)
