


Recording videos of yourself on your Mac is a great way to communicate and collaborate. Whether it's for a personal project, remote work meetings, or uploading online content, a well-made self-recording can make a big impact. In this guide, we'll cover everything you need to know to record high-quality videos of yourself using your Mac's built-in tools as well as pro software like Screen Story.
Why Record Yourself on a Mac?
Here are some examples of when recording yourself on a Mac can be useful:
- Make video calls more engaging by showing your face
- Give personal video updates to remote teams and clients
- Create vlogs and videos for YouTube or social media
- Record webinars, lectures, or presentations to share knowledge
- Demonstrate products or services with video tutorials
- Preserve memories by recording yourself and loved ones
The portability, webcam, and software options make Mac ideal for recording yourself. Now let's look at quick ways to record video using your Mac's built-in tools.
Recording with QuickTime Player
Your Mac comes ready to record videos right out of the box using QuickTime Player:
Step 1
Open QuickTime Player from your Applications folder.

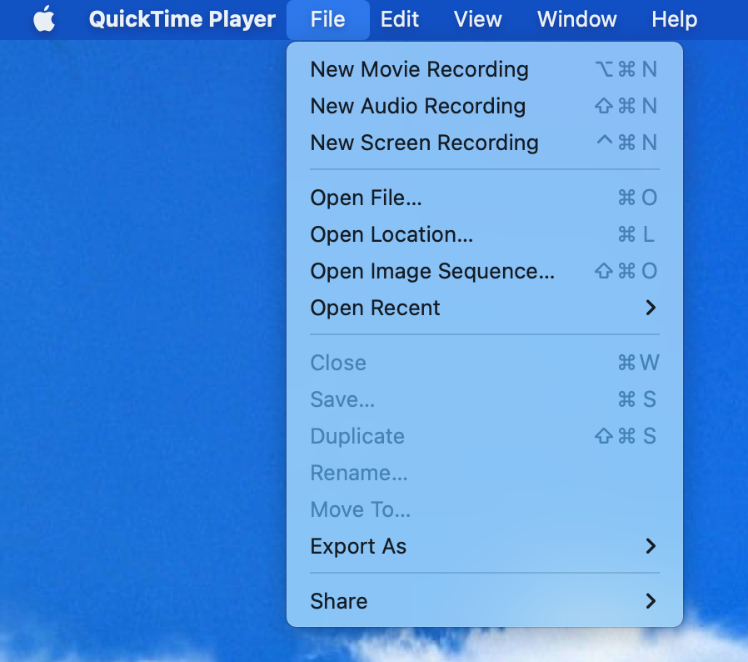
Step 2
Select File > New Movie Recording.
Step 3
Click the Record button and begin recording yourself through your Mac's webcam.
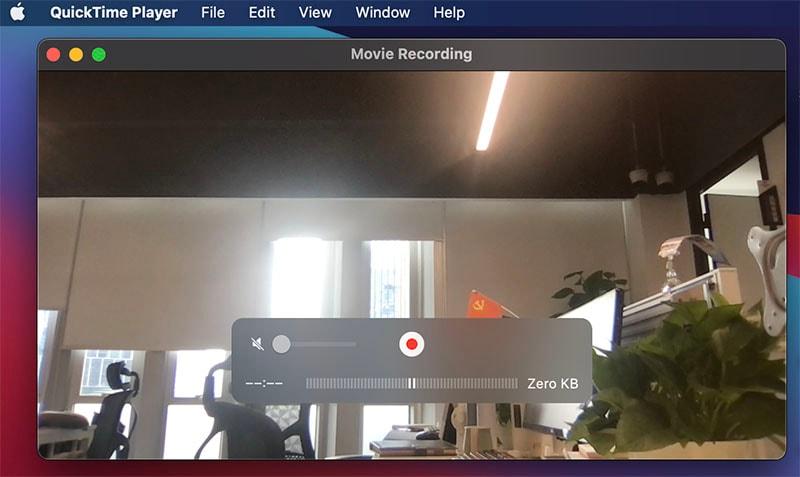
Step 4
Click Record again to stop recording when done.
Step 5
Go to File > Save to export and save the video file.
QuickTime Player provides a fast, straightforward way to capture videos using your Mac's built-in webcam. But for more control, let's look at using a dedicated recording app.
{{blog-ad}}
Recording with Screen Story
Screen Story is a video recording and editing app for Mac that makes recording yourself easy while adding professional touches.
Step 1
Download and launch Screen Story on your Mac.
Step 2
Select your web camera recording layout.
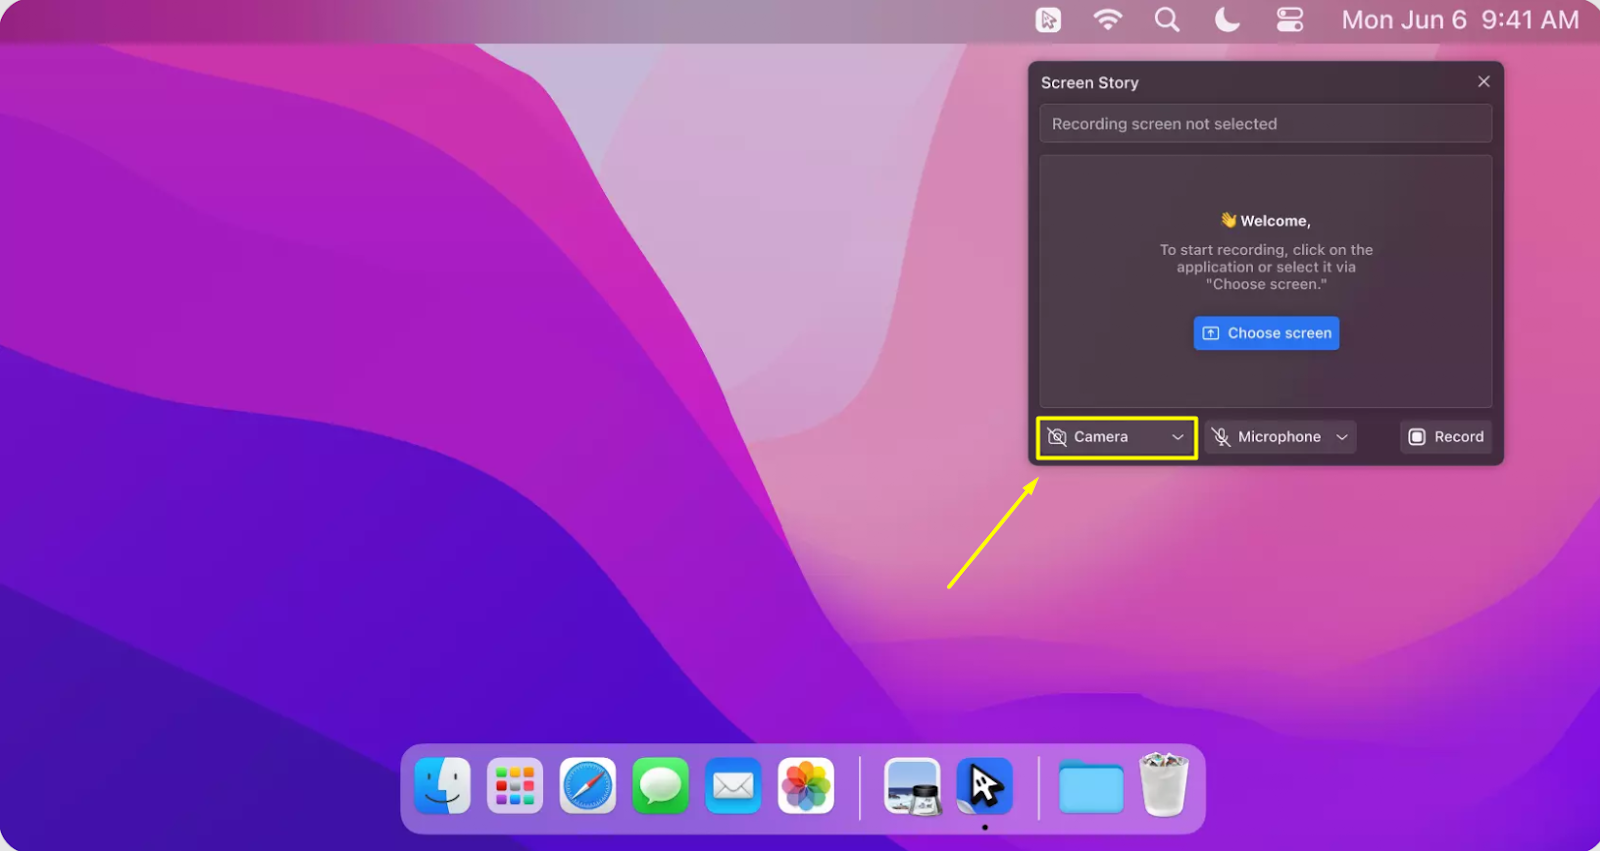
Step 3
Click the Record button to capture yourself through your webcam.
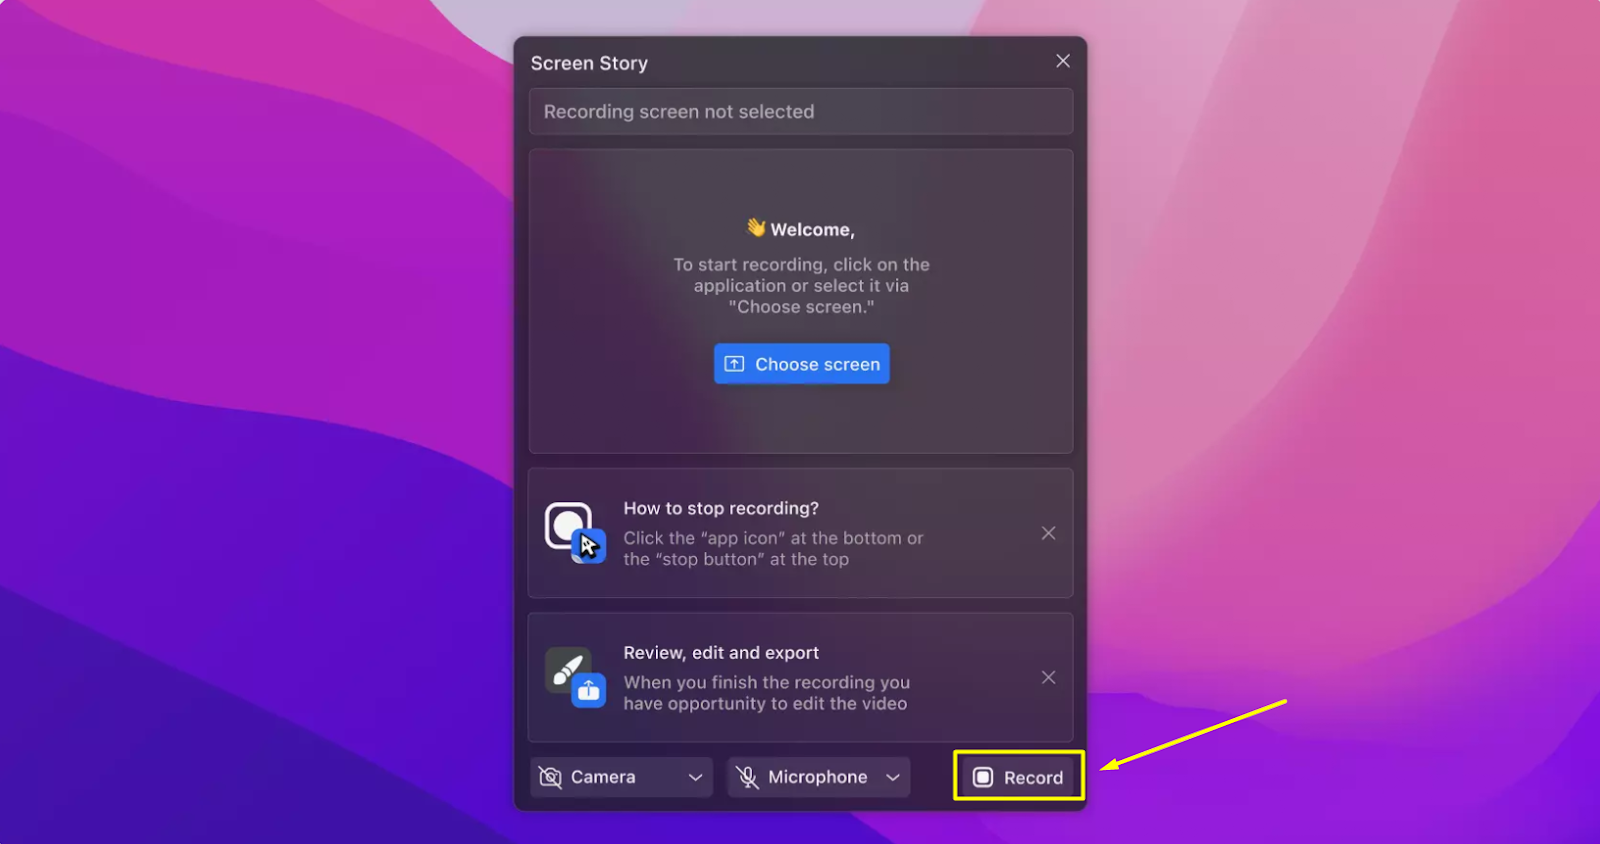
Screen Story will enhance your video with features like AutoZoom.
Step 4
Stop recording when done, then trim, export, and share your video.

Screen Story streamlines enhancing your webcam footage with compelling animations and effects. Next, we'll cover pro tips for looking and sounding great.
Tips for Recording Yourself
Follow these tips when recording videos of yourself on your Mac:
Frame Your Shot
Center yourself in the frame with your head and shoulders visible. Look directly at the camera for engagement.
Use Good Lighting
Position a light source in front of you to evenly illuminate your face. Avoid backlight from light sources behind you.
Check Your Audio
Macs have decent built-in mics but you can use an external mic for better sound quality.
Record Test Videos First
Record a few test videos to check your framing, lighting, audio levels before capturing important footage.
Following these best practices will take your self-recordings to the next level. Now let's dive deeper into using Screen Story for pro-level results.
Creative Video Recording Ideas
Take your self-recordings to the next level by getting creative with these video ideas:
- Vlogs - Share life updates by recording yourself informally just talking to the camera.
- How-Tos - Make tutorial videos demonstrating anything from recipes to DIY projects.
- Reactions - Capture your authentic reactions to videos, news, or events.
- Product Reviews - Record yourself testing and reviewing products. Show and tell!
- Interviews - Have remote conversations by recording yourself interviewing others.
- Commentary - Share your expert opinion or funny commentary while reacting to viral videos.
With Screen Story's powerful capabilities, it's easy to produce fun and compelling videos starring yourself.
Start Recording Engaging Videos
Recording videos on your Mac is made simple using builtin tools like QuickTime or powerful editing apps like Screen Story. With the right setup and knowledge, anyone can create professional-grade videos from the comfort of their Mac. Use these guides and tips to start recording compelling footage starring yourself - the possibilities are endless!
FAQs About Recording Yourself on Mac
Here are answers to some common questions about self-recording on a Mac:
What is the best free software for recording videos on Mac?
QuickTime Player comes built-in to Mac and provides free webcam recording capabilities.
How do I make my videos look more professional?
Use optimal lighting, stabilise your camera, record in highest quality, and use software like Screen Story to polish with automated enhancements.
Can I edit videos recorded on my Mac?
Yes, apps like iMovie, Final Cut Pro, and Screen Story allow easy video editing on Mac.
What microphones work best for video recording on Mac?
For built-in audio, MacBook's mics are decent. For pro sound, use external mics like Blue Yeti or Rode Podcaster.
How much storage space do videos take up?
At 1080p quality, videos take up around 1GB of storage per minute. So moderate your resolution and duration accordingly.
Create stunning videos with Screen Story
Record your screen with audio and create stunning videos without editing skills. Screen Story applies the best design patterns to the video automatically.
.webp)

.webp)
