


How to record iOS screen on Mac using ScreenStory and XCode Simulator
Are you looking for a way to record your iOS app on your Mac? Well, you're in luck! In this article, we will guide you through the process of using Screen Story and the Xcode Simulator to capture your iPhone screen on your Mac. So let's get started!
Notice: Xcode is a developer tool, therefore, you cannot directly download apps from the App Store as you would on your iPhone or iPad. Instead, you must install them using Xcode. Numerous guides available on the internet can assist you with this process.
Step 1. Download Xcode
First, you need to install Xcode Developer Tools from AppStore, it includes the Simulator component. This app provides a virtual iPhone experience on your Mac, perfect for iOS simulator screen recording.
You can use the link above or you can easily find it on the App Store by searching for "Xcode”

Step 2. Open Simulator
Once you've downloaded and installed Xcode, you will have access to the Simulator on your Mac. Simply open Spotlight (Command-Space bar) and find the Simulator application. Open it
Step 3. Choose the device you want to simulate
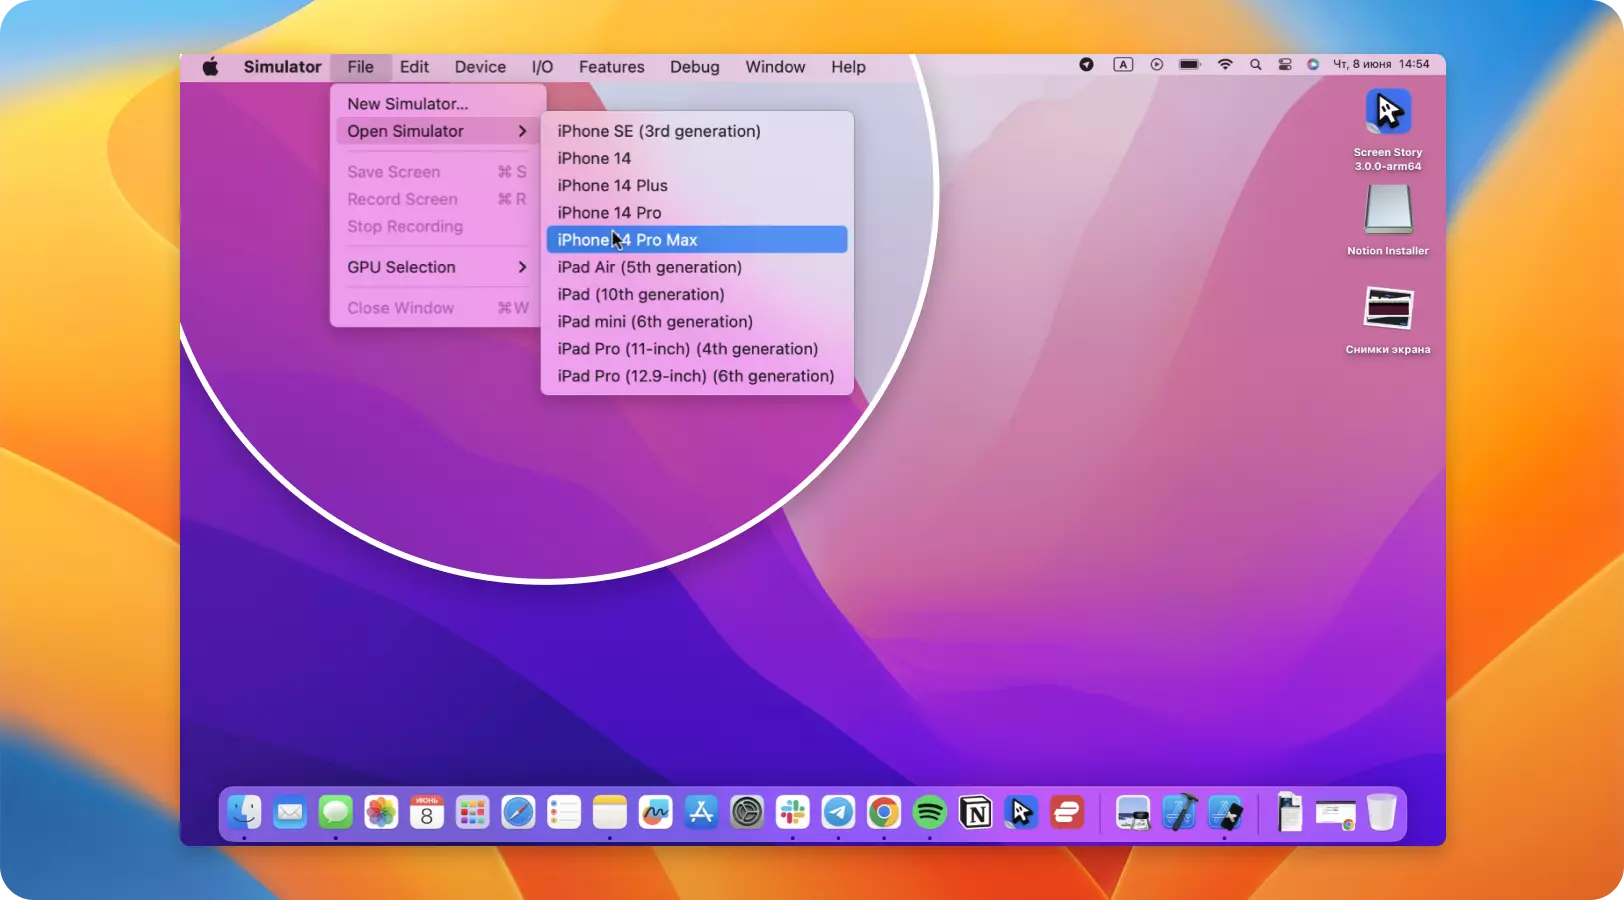
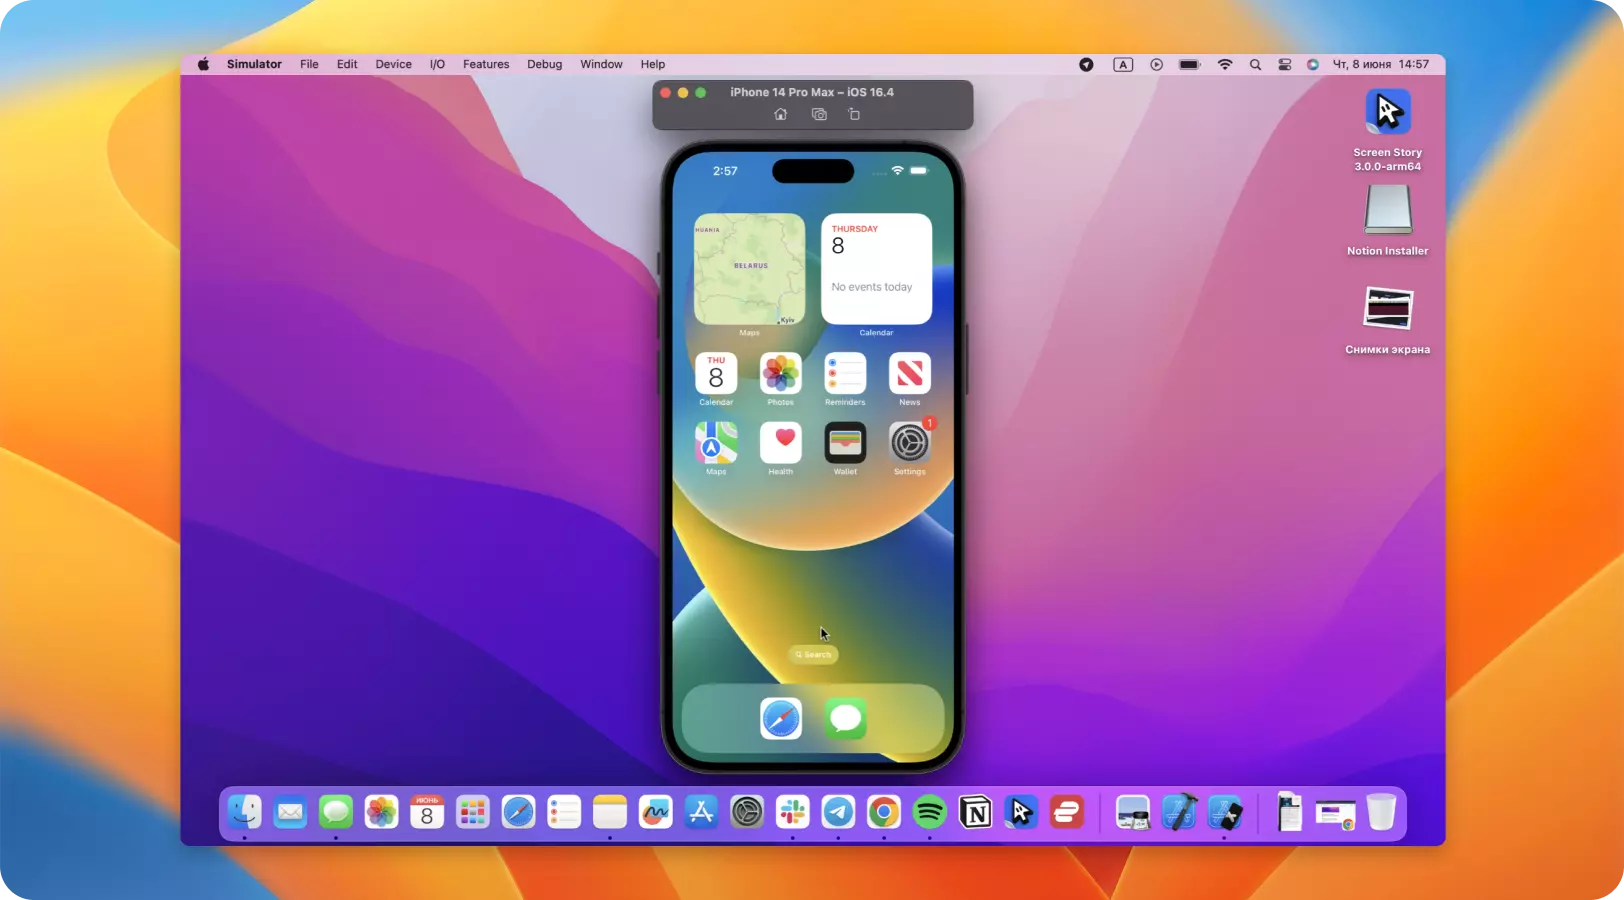
When the Simulator is up and running, you need to go to File -> Open Simulator and open your desired platform. We’d chosen iPhone 14 Pro Max for this guide. From here, you can use it as your platform to record iOS simulator actions.
Step 4. Open Screen Story and select Simulator window
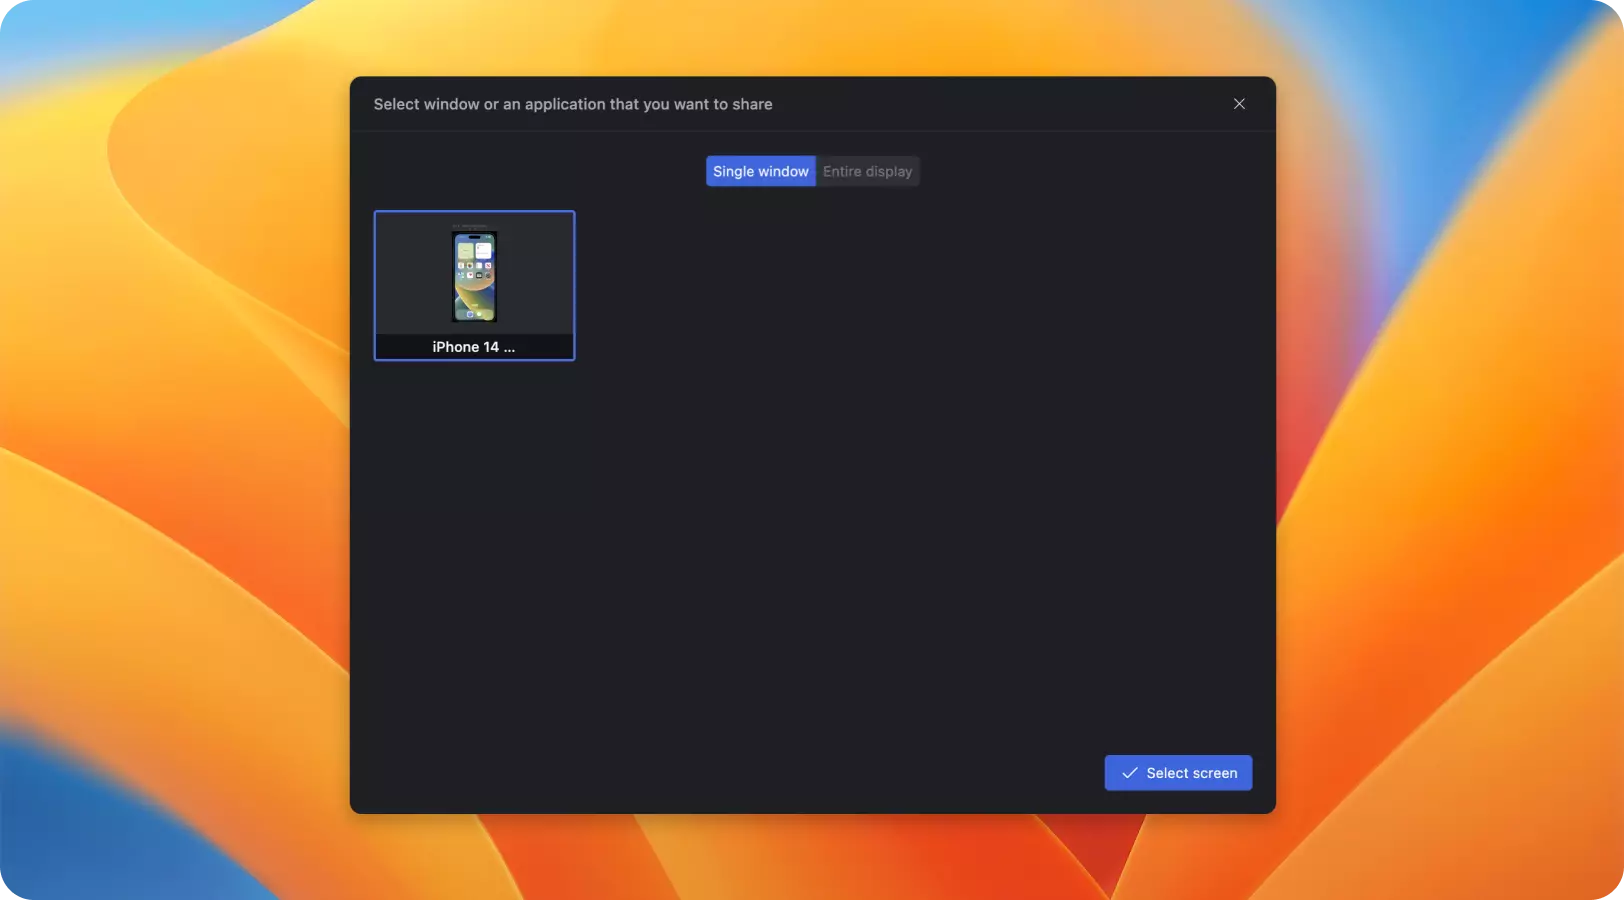
Open Screen Story from Dock or Menu bar if it’s already running and select Simulator window. This is key to mastering how to record simulator screen in Mac efficiently.
Step 5. Record and Edit!
Hooray! 🎉Now you’ve recorded your iOS screen and it’s time to edit it. First, you need to set up right crop. Use Crop area and Border.

To learn how to edit your video, you can use this guide. And don’t forget to select Touch on cursor types ;)